When you pair a brand-new iPad 10th Gen with the limitless potential of an Apple Pencil, you're unlocking a powerful duo for creativity, productivity, and pure digital joy. But before you can start sketching masterpieces or annotating documents, you need to know the specifics of Setting Up & Charging Apple Pencil with iPad 10th Gen. Forget complex tech jargon; we’re diving into a clear, actionable guide designed to get your digital pen gliding smoothly, right from the start.
At a Glance: Your Quick Guide to Pencil & iPad 10th Gen
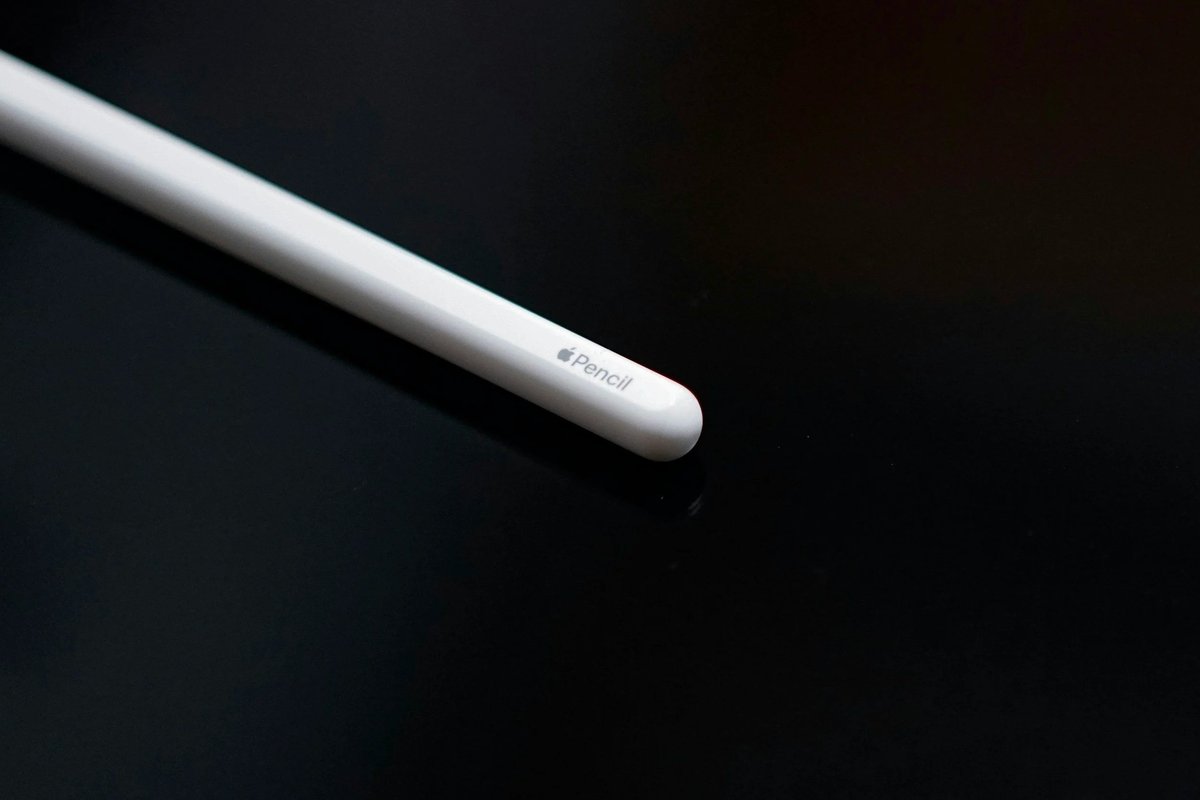
- The Right Pencil: Your iPad 10th Gen specifically pairs with the Apple Pencil (USB-C). The original Apple Pencil (1st Gen) can work with an adapter, but the USB-C model offers the most streamlined experience.
- Get Ready: Ensure your iPadOS is up to date and Bluetooth is enabled on your iPad.
- First Pair: Connect the Apple Pencil (USB-C) directly to your iPad 10th Gen using a USB-C cable. Tap "Connect" when prompted.
- Charging Made Easy: Charge directly from your iPad via a USB-C cable, or use a USB-C power adapter and cable.
- Stay Updated: Check your Pencil's battery life via the iPad's Batteries widget or in Settings.
Understanding Your Tools: Why the Apple Pencil (USB-C) for iPad 10th Gen?
Apple offers a few different Pencil models, and knowing which one works seamlessly with your iPad is crucial. For the 10th-generation iPad, the undisputed champion for native support is the Apple Pencil (USB-C).
Why the USB-C model? The iPad 10th Gen features a USB-C port, unlike its predecessors that relied on Lightning. This new Apple Pencil model was designed specifically to bridge that gap. It sports a clever sliding end that reveals its own USB-C port, making it a perfect match for your iPad's modern connectivity. While other iPads might pair with the Apple Pencil Pro, Apple Pencil (2nd Gen), or even the Apple Pencil (1st Gen) via different methods, your 10th Gen iPad finds its best friend in the USB-C variant.
This specific compatibility simplifies your life significantly. You won't need clunky adapters for core functions like pairing and charging, ensuring a smooth, intuitive experience from day one.
Before You Connect: Preparing Your iPad for Pairing
Think of this as your pre-flight checklist. A few quick steps on your iPad ensure a smooth, headache-free connection with your new Apple Pencil.
Checking and Updating iPadOS: The Foundation
Your iPad's operating system, iPadOS, is the brains behind the operation. For optimal performance and to guarantee compatibility with your Apple Pencil (USB-C), always make sure it's running the latest version. New accessories often rely on the most recent software to function correctly.
- Open Settings: Tap the grey "Settings" icon on your iPad's Home screen.
- Navigate to General: In the left-hand sidebar, scroll down and tap "General."
- Software Update: Tap "Software Update."
- Check and Install: Your iPad will check for available updates. If one is found, tap "Download and Install" and follow the on-screen prompts. Ensure your iPad is connected to Wi-Fi and has sufficient battery or is plugged into power.
Activating Bluetooth: The Wireless Handshake
Bluetooth is the invisible bridge that allows your Apple Pencil (USB-C) to communicate wirelessly with your iPad once it's paired. It's a non-negotiable step for using your Pencil effectively after the initial connection.
- Open Settings: Again, tap the "Settings" icon.
- Find Bluetooth: In the left-hand sidebar, tap "Bluetooth."
- Toggle On: Make sure the toggle switch next to "Bluetooth" is in the green (On) position. If it's grey, tap it to activate.
You should see "Now discoverable" or a list of nearby Bluetooth devices. Your iPad is now ready to make friends!
A Quick Charge for Your New Pencil: Initial Power-Up
While we'll dive deeper into charging later, it’s a good idea to ensure your brand-new Apple Pencil has some juice before its first pairing attempt. It might come with a partial charge, but a quick top-up can prevent any initial connection hiccups. You can do this by plugging it into a USB-C power adapter or even directly into your iPad's USB-C port. We’ll detail these charging methods shortly.
The First Connection: Step-by-Step Pairing Your Apple Pencil USB-C
This is where the magic happens! Connecting your Apple Pencil (USB-C) to your iPad 10th Gen is a straightforward process that takes just a moment.
The USB-C Cable Connection: Bridging the Gap
Unlike magnetic-pairing Apple Pencils, the USB-C model uses a direct cable connection for its initial handshake.
- Locate the USB-C Port: On your Apple Pencil (USB-C), gently slide the end cap to reveal the USB-C port.
- Grab Your Cable: Use a standard USB-C to USB-C charge cable. You might have one that came with your iPad, or any compatible cable will work.
- Connect Both Devices: Plug one end of the USB-C cable into your Apple Pencil's revealed port and the other end into the USB-C port on your iPad 10th Gen.
Tapping to Connect: The On-Screen Confirmation
Once physically connected, your iPad will quickly recognize the Apple Pencil.
- Look for the Pop-Up: A "Pair" button or "Tap to Connect" prompt should appear on your iPad's screen.
- Confirm Pairing: Tap the "Connect" or "Tap to Connect" button on your iPad's display. This confirms you want to link the Pencil to this specific iPad.
- Disconnect and Go: Once paired, you can disconnect the USB-C cable from both the iPad and the Pencil. Your Apple Pencil (USB-C) is now wirelessly connected and ready for use!
What Happens Next: Understanding Pairing Persistence
The Apple Pencil (USB-C) has a clever way of managing its connection. Once paired, it generally stays connected to your iPad until certain conditions are met:
- Wireless Use: After disconnecting the cable, you can use your Pencil wirelessly without issue.
- Reboot: If you restart your iPad, you will need to re-pair the Pencil by reconnecting it with the USB-C cable and tapping "Connect."
- Bluetooth Off: Turning off Bluetooth on your iPad will sever the connection. You'll need to re-enable Bluetooth and then re-pair.
- Pairing with Another iPad: If you pair your Apple Pencil (USB-C) with a different iPad, it will disconnect from your current one. To use it with your original iPad again, you’ll need to repeat the pairing process.
This means for most day-to-day use, once it's paired, it's ready whenever you are. For a deeper dive into the world of Apple Pencil and its various generations, including its broader compatibility across Apple’s tablet lineup, you might find Your 10th Gen iPad Apple Pencil guide helpful. It covers everything from model differences to advanced tips for maximizing your digital artistry.
Powering Your Creativity: Charging Your Apple Pencil USB-C
Keeping your Apple Pencil (USB-C) charged ensures it’s always ready when inspiration strikes. The good news is, charging is just as straightforward as pairing.
Directly from Your iPad: On-the-Go Charging
One of the most convenient ways to charge your Apple Pencil (USB-C) is directly from your iPad 10th Gen. This is perfect when you’re out and about or simply want to avoid extra cables and adapters.
- Reveal the Port: Slide the end cap of your Apple Pencil (USB-C) to expose its USB-C port.
- Connect with Cable: Plug one end of a USB-C to USB-C cable into your Pencil and the other end into your iPad’s USB-C port.
- Watch it Charge: Your Pencil will immediately begin charging from your iPad’s battery.
This method means you can charge your Pencil anywhere you take your iPad, leveraging your iPad's power. It’s ideal for topping up during a quick break or while your iPad is otherwise idle.
Charging with a USB-C Power Adapter: The Home Base
For a faster, dedicated charge, or if your iPad’s battery is running low, you can charge your Apple Pencil (USB-C) using a standard USB-C power adapter and cable.
- Reveal the Port: Slide the end cap of your Apple Pencil (USB-C).
- Connect to Power: Plug one end of a USB-C cable into the Pencil and the other end into a USB-C power adapter (like the one that came with your iPad, or any compatible USB-C power brick).
- Plug into Wall: Plug the power adapter into a wall outlet.
This method offers a more robust charging solution, often quicker than charging directly from your iPad, especially if your iPad is also being used actively.
Best Practices for Battery Health: Tips for Longevity
To ensure your Apple Pencil’s battery remains healthy over its lifespan, consider these simple tips:
- Avoid Extreme Discharges: Try not to let your Pencil’s battery completely drain to 0% regularly. Lithium-ion batteries prefer shallower discharges.
- Don't Store Fully Drained: If you plan not to use your Pencil for an extended period, charge it to about 50% before storing it. Storing a lithium-ion battery completely empty can harm it.
- Use Quality Chargers: Stick to Apple-certified or reputable third-party USB-C cables and power adapters to ensure safe and efficient charging.
- Regular Use: Like any battery, regular moderate use helps keep the chemicals active and healthy.
Keeping Tabs: Monitoring Your Apple Pencil's Battery Life
Knowing how much power your Apple Pencil has left is key to uninterrupted creative flow. Apple provides a couple of easy ways to check its battery level right from your iPad.
Using the Batteries Widget: At a Glance Power
The Batteries widget offers a convenient, at-a-glance view of your Apple Pencil's charge, along with other connected accessories and your iPad's own battery.
- Access Widgets: Swipe right from your iPad's Home screen or Lock screen to access the Today View.
- Add Batteries Widget (if needed): If you don't already have the Batteries widget, scroll to the bottom of the Today View and tap "Edit." Tap the "Add" button (+) next to "Batteries," then tap "Done."
- Check Battery: Once added, the Batteries widget will display the charge level of your Apple Pencil (when it's connected to your iPad), often alongside your iPad's battery and any other connected Bluetooth devices like AirPods.
Checking in iPad Settings: Detailed Information
For a more detailed look at your Apple Pencil’s status, you can always head into your iPad’s Settings.
- Open Settings: Tap the "Settings" icon on your Home screen.
- Find Apple Pencil: In the left-hand sidebar, scroll down and tap "Apple Pencil."
- View Battery Level: On the right-hand side, you’ll see the current battery percentage of your connected Apple Pencil. This section also confirms if your Pencil is connected and offers options like "Forget This Device" if you need to disconnect it.
Troubleshooting Common Roadblocks: When Things Don't Go as Planned
Even with the clearest instructions, sometimes technology throws a curveball. Here's how to troubleshoot the most common issues you might encounter with your Apple Pencil (USB-C) and iPad 10th Gen.
Pencil Not Pairing? A Quick Checklist
If your Apple Pencil isn't connecting, run through these steps:
- Is Bluetooth On? Double-check that Bluetooth is enabled in your iPad's Settings.
- Latest iPadOS? Ensure your iPad is running the most current version of iPadOS. Outdated software can cause compatibility issues.
- Cable Check: Are you using a reliable USB-C to USB-C cable? Sometimes a faulty cable can prevent the connection. Try a different one if you have it.
- Secure Connection: Is the USB-C cable firmly inserted into both your Apple Pencil and your iPad? A loose connection won't trigger the pairing.
- Charge Level: Does your Apple Pencil have sufficient charge? A completely drained Pencil might struggle to initiate pairing.
- "Tap to Connect" Missing?: If the prompt doesn't appear, try disconnecting and reconnecting the cable. You might also try restarting your iPad.
Is Your Pencil Not Charging?
If you're plugged in but not seeing that battery percentage climb:
- Cable Integrity: Just like with pairing, a damaged or non-compliant USB-C cable can prevent charging. Swap it out.
- Power Source: If using a wall adapter, ensure the adapter is plugged firmly into the outlet and that the outlet itself is working. Try a different power adapter or a different USB-C port on your iPad.
- Pencil Port: Gently inspect the USB-C port on your Apple Pencil for any debris (dust, lint) that might be obstructing the connection. Use a soft, dry brush or compressed air to clear it, being careful not to damage the pins.
- iPad Port: Similarly, check your iPad's USB-C port for any obstructions.
- Charging Indicator: When charging directly from your iPad, a small battery icon with a lightning bolt should appear next to the Pencil's name in the Batteries widget or Settings, indicating it's receiving power. If not, the issue persists.
"Tap to Connect" Not Appearing
This specific issue can be frustrating. Here’s what to do:
- Restart iPad: A simple restart can often resolve minor software glitches that prevent the pairing prompt from appearing.
- Forget Other Devices: If you've paired your Pencil with another iPad recently, or have many Bluetooth devices, try "forgetting" unnecessary devices in Bluetooth settings to clear potential conflicts.
- Re-attempt Connection: Disconnect the USB-C cable from both devices completely, wait a few seconds, then reconnect. Ensure it's a direct, firm connection.
Accidental Pairing with Another iPad?
If your Apple Pencil (USB-C) was previously paired with a different iPad and now won't connect to your 10th Gen iPad:
- Re-initiate Pairing: Simply follow the standard pairing steps for your 10th Gen iPad: connect the Pencil via USB-C cable and tap "Connect." The Pencil will automatically "forget" its previous pairing to connect with the new iPad. You don't need to manually unpair it from the old device first.
Beyond Setup: Maximizing Your Apple Pencil USB-C Experience
Once your Apple Pencil (USB-C) is paired and charged, it's time to put it to work. While it might not have every advanced feature of its Pro counterpart, it's still a fantastic tool for a wide range of tasks on your iPad 10th Gen:
- Note-Taking: Use it in apps like Notes, GoodNotes, or Notability for handwritten notes, diagrams, and annotations.
- Sketching & Drawing: Unleash your creativity in apps like Procreate (for iPads that support it), Paper, or Sketchbook.
- Marking Up Documents: Sign PDFs, highlight text, and add comments directly onto documents in Mail, Files, or Pages.
- Navigating iPadOS: Use your Pencil for precise navigation, tapping small buttons, or interacting with elements that feel more natural with a pen.
The Apple Pencil (USB-C) offers excellent precision and low latency, making every interaction feel natural and responsive. Experiment with different apps and see how this digital tool can transform your iPad experience.
A Final Stroke of Genius: Unleashing Your Digital Creativity
You've successfully navigated the ins and outs of setting up and charging your Apple Pencil (USB-C) with your iPad 10th Gen. This isn't just about connecting two devices; it's about connecting your ideas to a powerful digital canvas. Whether you're a student, an artist, a professional, or simply someone who loves to jot down thoughts, your Apple Pencil is now a trusted extension of your hand.
Don't be afraid to experiment, explore new apps, and integrate your Pencil into your daily workflow. The learning curve is gentle, and the benefits of precision, control, and natural interaction are immense. So go ahead, draw, write, annotate, and discover the full potential of your iPad 10th Gen and its fantastic new companion. Happy creating!